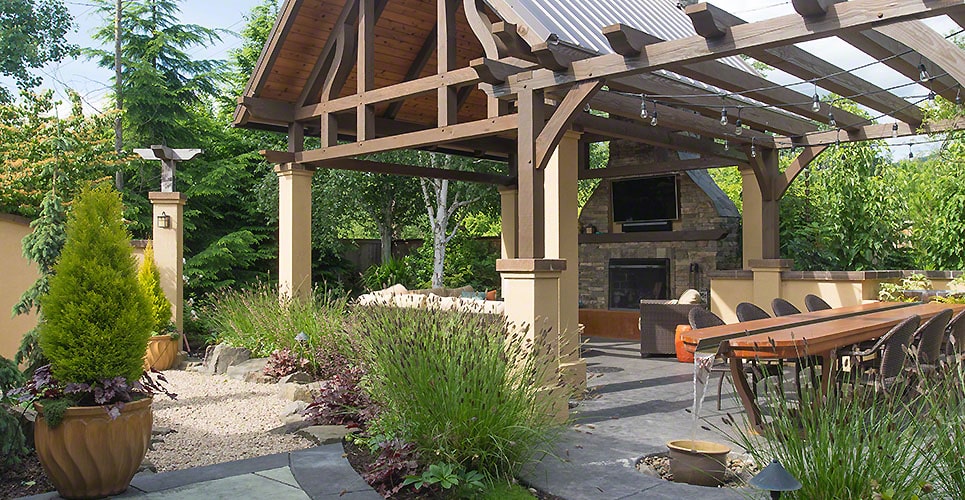
Backyard pavers, in recent times, have become quite popular thanks to both their practicality and aesthetic value they bring to your driveway. However, if yours have become sunken due to rigorous daily use, here are the steps from patio builders for fixing them.
Understanding the Reason Why Outdoor Pavers Sink
If your paver sinking has gotten you alarmed, rest assured. It is a quite natural process. The earth, or rather the crust that we live on, as you may know is constantly moving and shifting, albeit very gradually. Add to that the fact that there is a water table not deep below the surface that is constantly moving up or down depending on a number of factors. All of this contributes to slight disturbances in the soil up top, causing it to settle down. This may not be apparent to the naked by, but when covered by a paver, you can see when the shifting has occurred by examining any sunken tiles.
That said, fixing sunken pavers is extremely easy, and only takes about 10 to 15 minutes of your time. You can also take services of a paver masonry expert. Here is how to proceed.
Step 1: Lift the Sunken Pavers
You will need to use a pry tool to do so without damaging the tile itself. Keep in mind to securely get the pry situated under the paver and then push down from the other end. Do not use excessive force. Gradually loosen up around the tile until it comes loose and then you can lift it out with your hand.
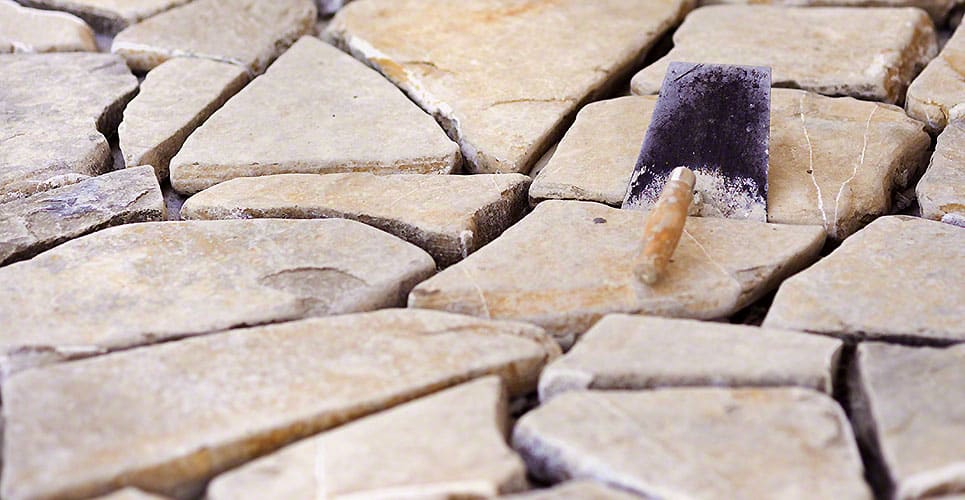
Step 2: Clean the Edges
Repeat the above process on all the pavers that have sunken, getting them out of their space and setting them aside. Once you have all of them in one place, clean the edges with sanding paper to get rid of any debris that has accumulated on the tiles, and ensure a smooth, even surface which will both make it easier to work with as well as ensure a seamless look once you are done.
Step 3: Level the Exposed Ground Beneath the Sunken Pavers
Using a leveling tool or just something flat like a block of wood or a brick, tap the ground so that it is even throughout. Make sure to press down as far down as you can go to ensure that the earth is tightly packed and that there are no air pockets in between that may emerge as bubbles later on.
Step 4: Add All-Purpose Sand
Once the space where the paver tiles were located have all been leveled, it is time to add some sand on top to ensure uniform height in all the segments when you place the removed paver tiles into their spot again. Make sure to tap down and level this extra sand as well to ensure that the ground is completely smooth, before putting the tiles back on top.
Step 5: Place the Pavers
Now that you have taken care of all the segments and are sure that they are all the same height, all you need to do now is to place the paver tiles back into the space you took them out of. Tap the edges lightly with the back of your pry tool to ensure that they fit in just right and that there is little to no gap between adjacent pavers. Repeat the process for each paver and once you are done, stand back to observe your work and make sure that everything is indeed level, and that none of the pavers are either sunken or seem to be protruding out from their spot.
How To Prevent Pavers From Sinking?
As we mentioned earlier, paver sinking is a natural process and if yours seem to have sunken after some time, there is no need to be alarmed. However, there are a few steps you can take in order to prevent them from sinking in the first place. The idea is to pack the earth below the paver as tightly as possible. Another suggestion is to apply a concrete mix to the entire length of the driveway and allow the ground to harden up before placing the paver tiles on top.
As you can see from the above steps, fixing a set of sunken pavers is an easy task and anyone can do it in a matter of minutes. You can also hire a patio contractor to get your pver fixed professionally. Lagrass